
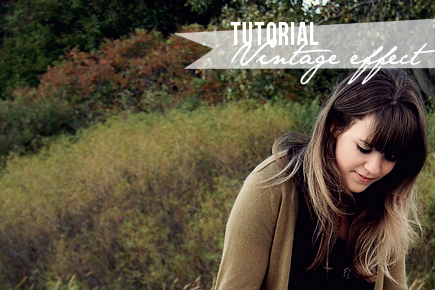
If you're looking to give your photos a nice vintage effect, follow along with this fun tutorial! You'll need Photoshop. I use CS4 in this version, but any version should be pretty much standard. You can follow along with the video to see the tutorial in action, but go ahead and reference the steps down below. Enjoy!
To view the video, enter the password:
indieblogger
!
2. Create a copy by dragging down to the new layer button
3. Click on your background copy layer to edit
4. Click on adjustment layer > Brightness/contrast > Do a +20 on contrast
5. Click on adjustment layer > Hue/saturation > Do a +20 on saturation
6. Click on adjustment layer > Curves > Edit each RGB on it's own:
This will vary on each image.. Red: 84, 85; Green: 65, 75; Blue: 23, 0
7. Click on background copy layer
8. Click on menu > Convert for smart filters
9. Click on menu > Filter > Distort > Lense correction > -100 on vignette
10. On layer, double click on arrows with lines > Change opacity to 50%
11. Make sure background copy is selected
12. Click on adjustment layer > Hue/saturation > Click colorize: Create sepia tone
sepia tone will change, but should be around 35, 15
13. Change that adjustment layer to a 50%
14. Click on adjustment layer > Solid color > Choose a bright pink color
15. Change layer to 5% opacity
16. If it's too overpowering, create a group and pull all of your layers (besides original background copy) into the folder.
17. Change the opacity of the entire folder down to a 50% or less!
All set! Now you have a nice, warm, vintage-colored photo! Thanks for watching! xo, Tieka
