
By Elizabeth, Delightfully Tacky and Tieka, Selective Potential
Elizabeth:
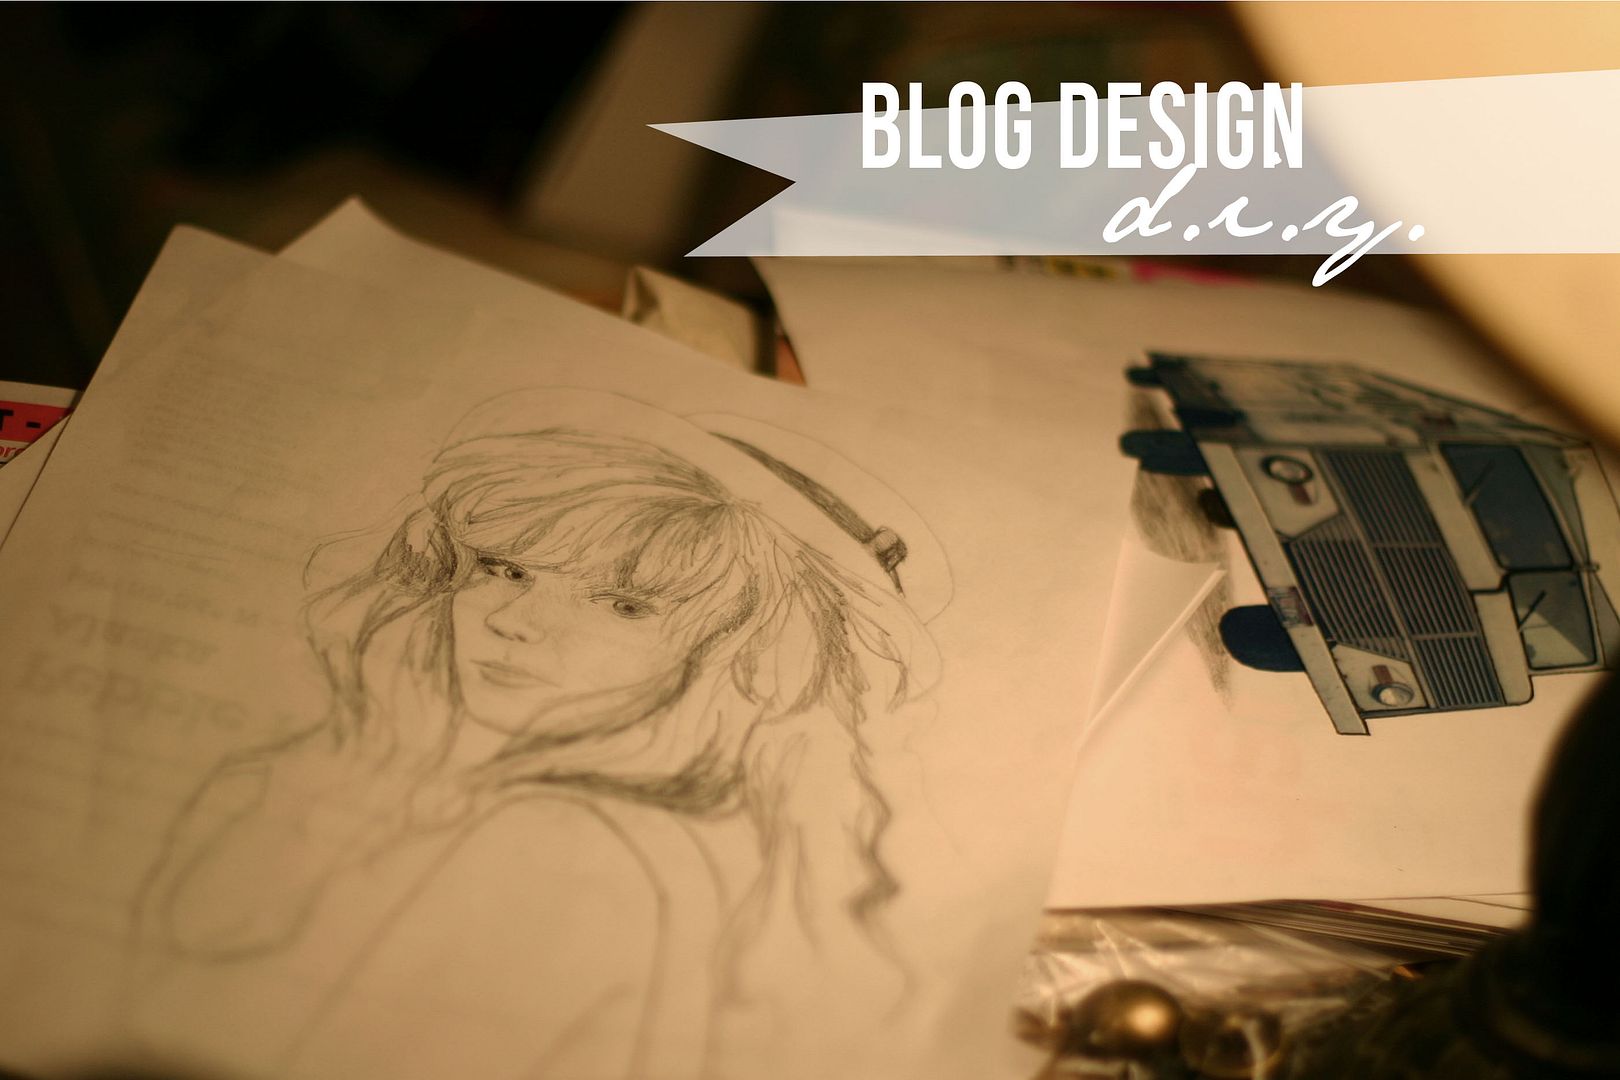
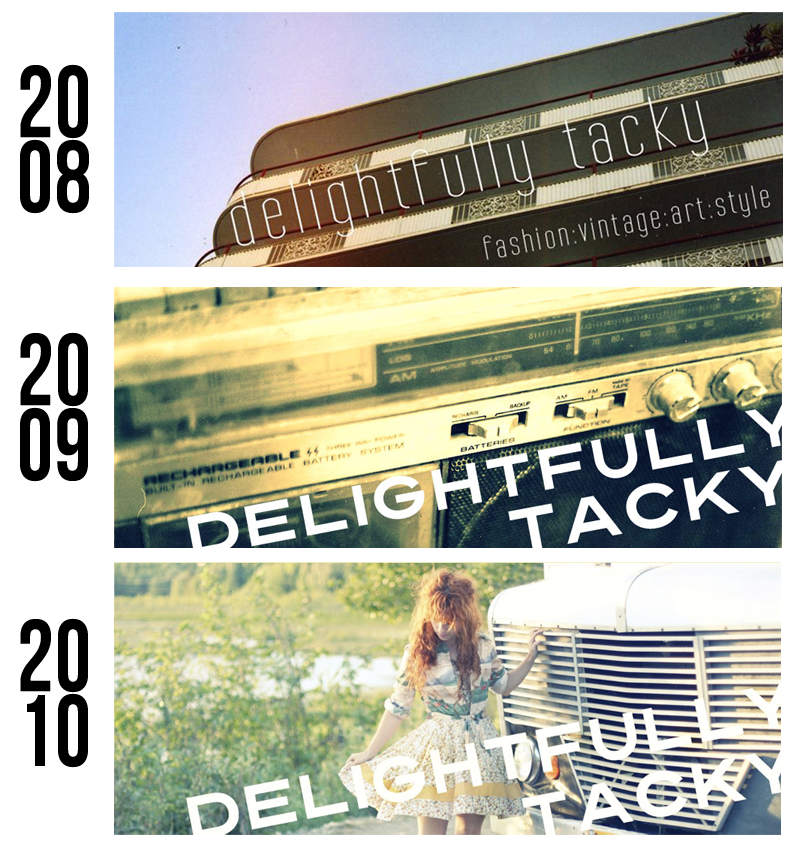
When I first started my blog, one of the first things I did was customize the look of my blog. This probably has to do with the fact that I adore designing everything in my life: my apartment, my business cards, my notebooks, my Winne, and so on. I like making my surroundings reflect who I am, and a blog is definitely a reflection of who you are! I found my first template on some site by googling "Vintage blogger templates". The background I have today is almost the same as the background I had, I've tweaked it a bit here and there, but it's largely the same! One of the first and easiest things you can do to customize your template, is make your own header. It's one of the first things that people notice and it's right there at the top of every page, so make sure to have a great, visually grabbing header. Here are my headers from the past:
And now I have a brand new header on my blog featuring a little drawing of the Brave! As I learned more about blogging, I got more ambitious and wanted to add more elements to my design. I've always done all the design work on my own blog and I started blogging with no knowledge of HTML whatsoever, so you can definitely DIY your own blog design, just know that it takes a lot of research and time to get to know how to do it! I moved from a 2 column design to 3, added a nav bar, figured out how to make big photos and a custom post title font, and widened my whole layout all by Googling and finding tutorials online.
Here are some tips that you can use to work on your own blog template:
1. Always always always always always (get the picture?) always make a copy of your whole blog template HTML and save it to a document file on your computer. That way if you ever completely mess things up, you always can restore your template to where it was before you started messing with things. Otherwise you could spend hours trying to work on your blog, screw up along the line and have to start over from scratch! It's a sickening feeling. Whenever I do some serious work on my blog HTML template, I save a back up to my computer.
2. Google is your friend. In fact, Google is more than your friend, Google is an invaluable resource. Everything, and I mean everything, I've ever tried to do on my blog layout, or even just figuring out little stuff like how to make a hyperlink go to an email address, was learned by Googling it. If you don't find what you want the first time you search, try tweaking the wording or only using the most important words in your search.
3. Set aside a good chunk of time to do your HTML work. All my template projects have kind of been on a whim but luckily I've had enough time each time I do something with HTML. I don't know about you guys, but figuring out how to tweak stuff with HTML requires a lot of brain power and focus for me, so I like to have a good amount of time I can focus on just the task at hand. Sometimes I've spent hours working on figuring out one little thing, but the feeling of accomplishment when I finally complete my work is so great!
Tieka:
Blog design is something that is so important to me. It's where you can quickly capture a reader, identify who you are... and do it all without saying a word. Plus, I graduated from college with a degree in digital media/graphic design, so blog design is an obvious interest for me. It's something that draws me in quickly to a blog. I love unique, easy-to-navigate blog designs that load quickly and serve a purpose! I also love when a blog design ties directly to the bloggers theme. In the next session, I'll be talking about how you can incorporate your theme into your blog design.
When I first started my blog, I started right away on teaching myself HTML. I found a website full of free blogger templates (Blogger Templates) and uploaded one to my blog. (Ps; I'll be showing you how to do this in a tutorial on HTML day!) and quickly started customizing. I customized my layout so much that it didn't even look like the template I uploaded anymore! I did this all by using Google. Google will be your best friend while learning HTML and blog DIY tips and tricks.
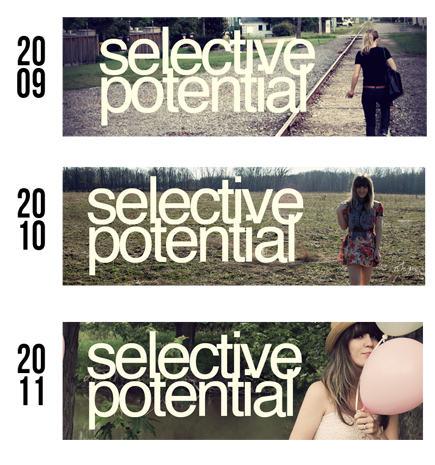
These are my headers I've used since I've started blogging. When I first started my style blog, Brett and I took so many photos on these railroads tracks... they almost came to define me! I still love going back there for posts! I may have changed my images, but I've never changed my logo, since it's an important part of my identity. I also only use images I'm very proud of... and directly represent my style or blog. If you are using an image in your header, make sure it has major importance to your blog. It's the first thing readers will see!
The biggest elements of your blog design will be:
1) Header
2) Background
4) Fonts
Be sure that each of those elements reflect the themes you've chosen for your blog and reflect your personality. Like mentioned, if you can't think of a design for your themes... think about other things in your life that have meaning. Think of your surroundings, what makes you happy, a favorite color. Having a well-designed blog is the best way to say who you are... without actually saying a word! You want to appear professional and organized, so make sure your blog is saying the same about you.
Great websites for help on DIY blog design:
