
I believe that, along with a great design and great content, great photos complete the trifecta. If a blog has tiny photos, or really bad photos, I probably won't stick around for very long, especially if it's a fashion blog. If you're taking photos of your daily style to show on your blog, I'm guessing you probably want the photos to actually show your outfit! No more mirror shots standing in a pile of dirty laundry in your bedroom-- after today, you'll know how to take great photos all by yourself!
One of the things I get asked most often (other than how I do my hair, haha) is "who takes your photos?" The answer: I do. I take almost 100% of my outfit photos. Unless I'm out and about with someone and I ask them to grab a couple outfit shots, every one of my photos has been taken with a tripod and self timer. Some people choose to use a remote (like Jennine in the how-to video below), but I like my hands to be free and I really don't like seeing a remote in the photos. I've never used one, I much prefer taking my shots using the 10 second self timer. I know a lot of people don't think it's possible to take great photos with a tripod and self-timer, but I believe it's more than possible-- it's easy!
Here's what you need to take your own outfit photos: A camera with self timer capabilities, and a tripod! Yup, that's it!
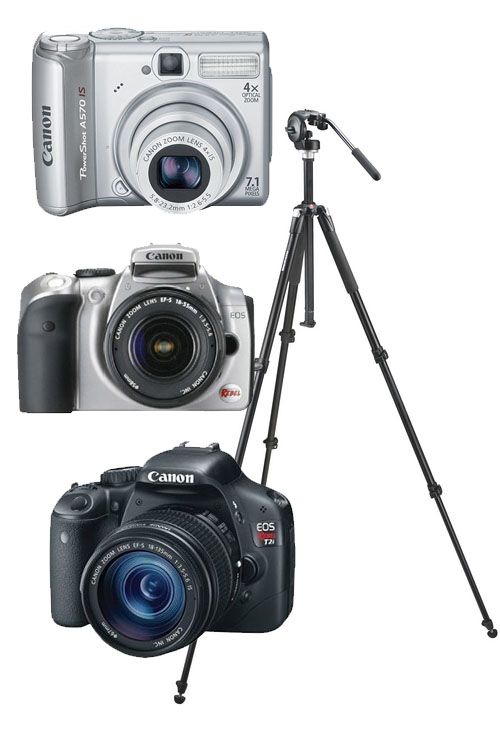
When I first started taking outfit photos I used the camera at the top- a little Canon Powershot point-and-shoot. It was a nice little camera and it balanced on things pretty easily. Unfortunately it was quite beat up and I think it probably died due to falling off of something I'd perched it upon. I didn't have a tripod until summer of 2009 when I moved home and borrowed my brother's! Now I use a Manfrotto tripod and I love it. It's lightweight and really easy to transport. I've taken it on multiple vacations in my carry-on, so it's pretty convenient!
After my Powershot died, I started using my Canon Rebel DSLR. I hadn't used it previously because it was so big and heavy to carry around, but now I wouldn't trade a DSLR for the world and I carry mine everywhere. I used a Canon T2i for a few years and I currently use a Canon 6D.
Take your photos!
1.The first thing you're gonna do is set up your tripod. A lot of people like to take vertical outfit shots, but you can get both vertical and horizontal shots for some variety.
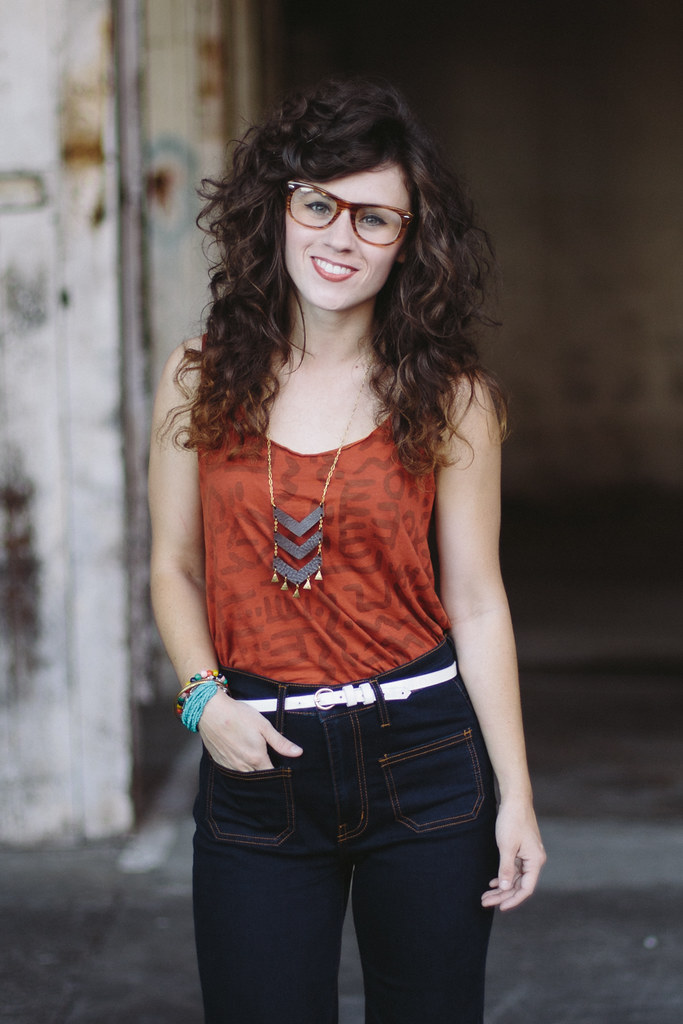
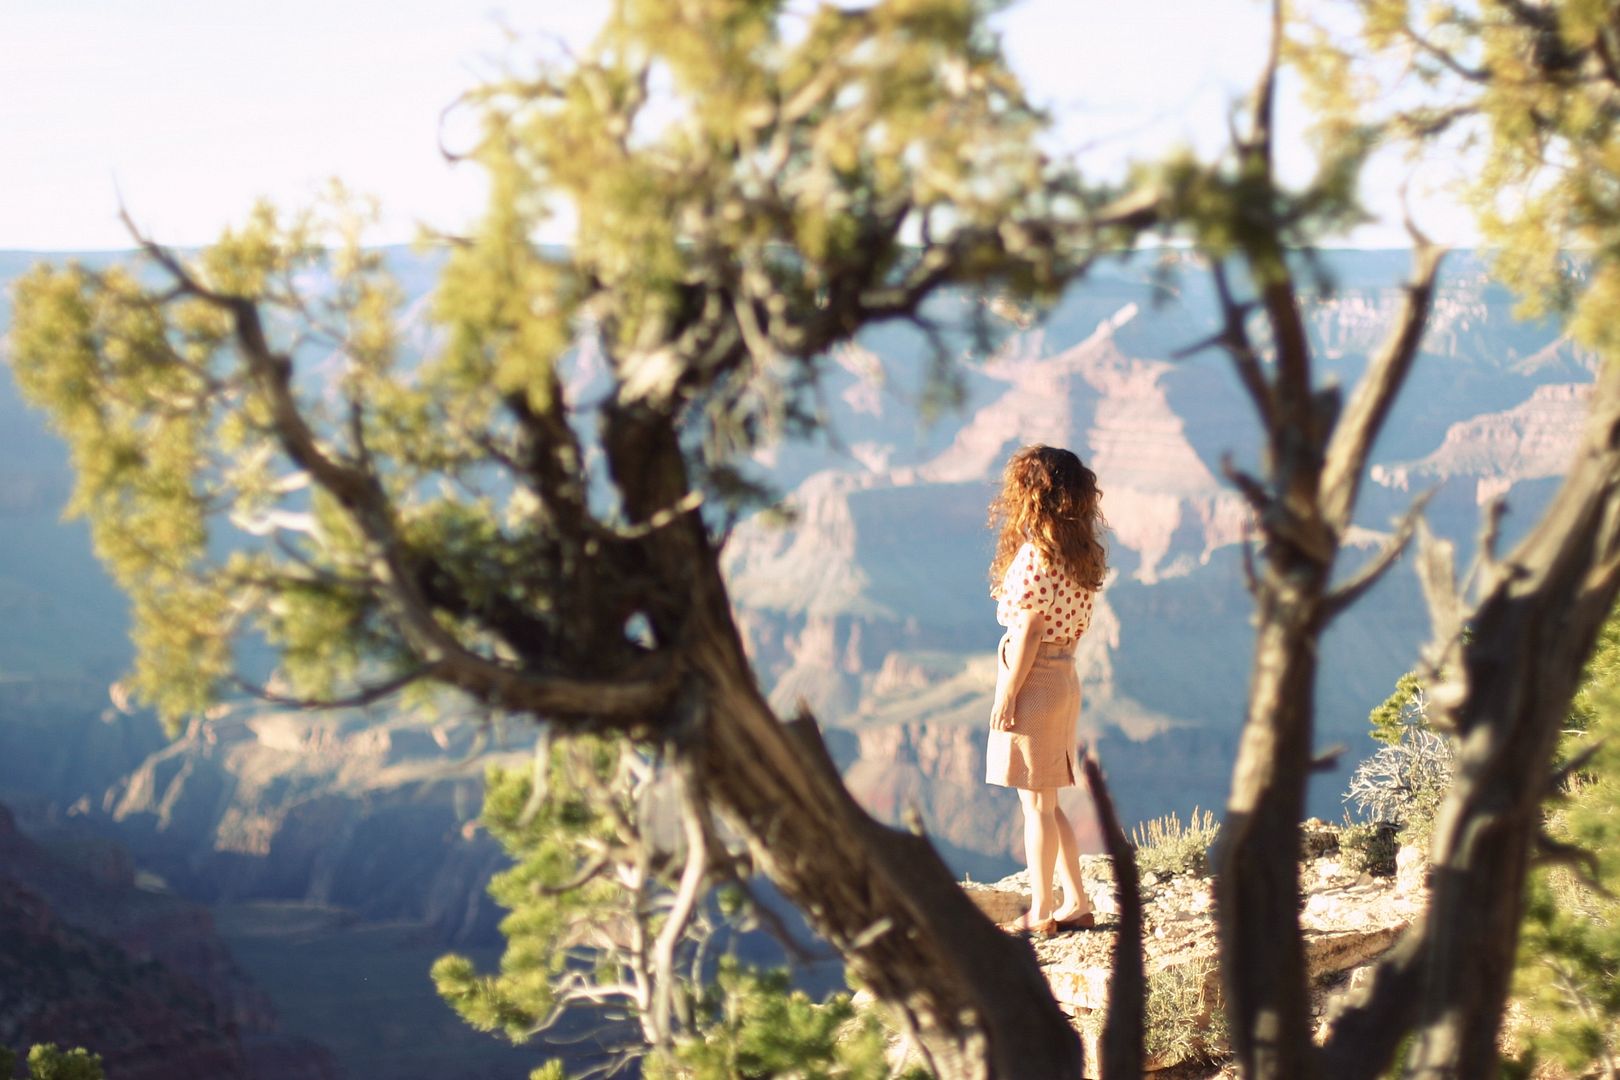
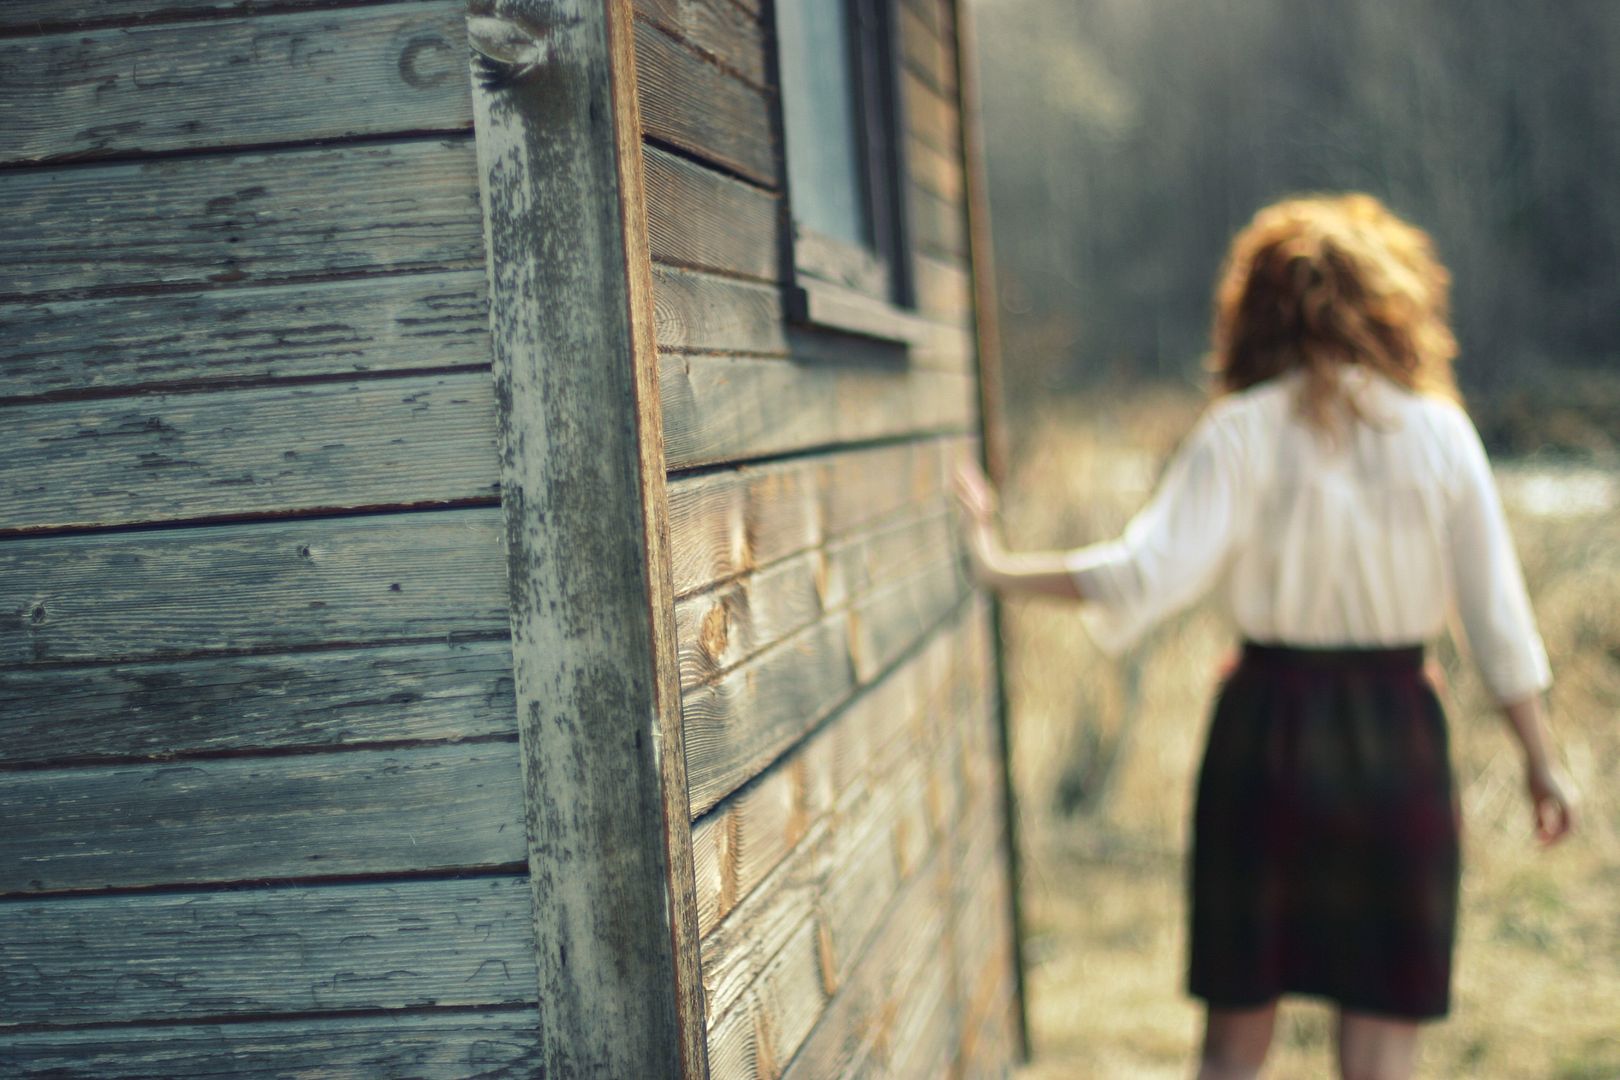
2. Look through your lens and make sure you're going to fit in the frame, then focus on something where you're going to be standing. I love taking outfit shots in the woods because I can focus on a tree that I'll stand near. It's a lot harder to do this in the middle of a vacant parking lot or something like that, simply because there's not many points to focus on. You can also bring something with you to focus on- a purse or even your car/bike, then just move that thing out of the way, or shift your tripod to get that thing out of frame when you start shooting!
I use auto-focus to focus on the object (like the tree in this case), and then switch to manual focus so that I can just take a bunch of photos standing in the same place without having the focus get messed up each time I take a new shot.
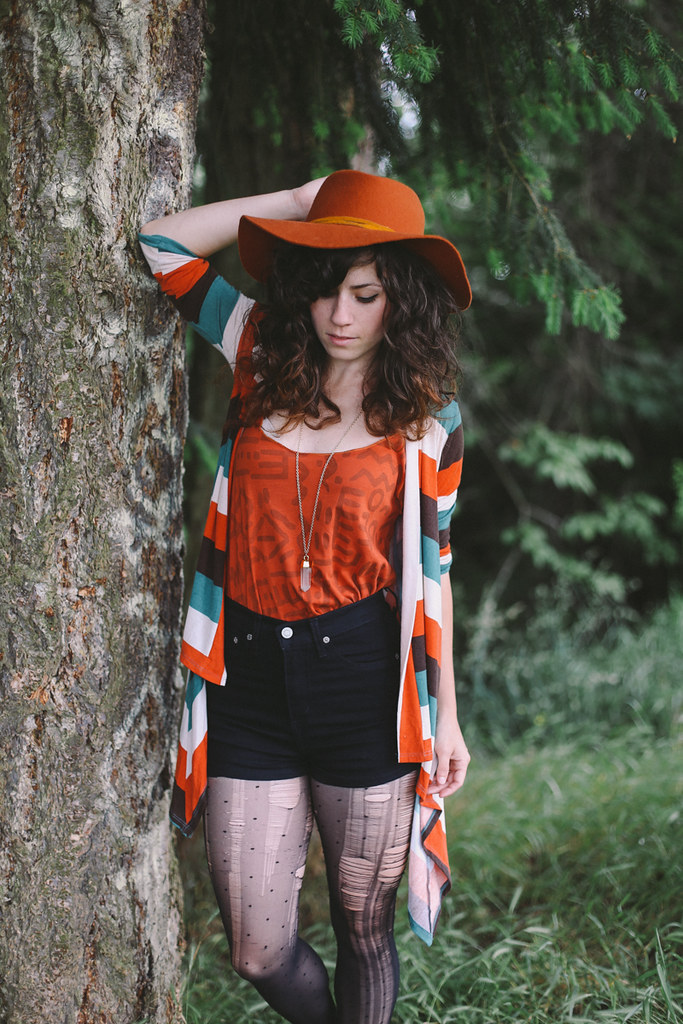

In this case I focused on the tree on the right side of the image, then moved my camera a smidge to the left so the tree was out of frame. I switched from auto to manual once the focus was set where I wanted to stand and could then use the camera's self timer to take as many photos in that spot as I wanted, knowing they'd all be focused on me as long as I stood in the spot where I'd focused.
3. Take a couple test shots to see if the lighting is good and the focus is correct. If anything is off, fix it or change locations and try again! Once you get everything set, you're ready to go!
4. Take a bunch of photos in each location for a certain shoot, this will give you a variety of shots to choose from.

It might seem a little bit awkward or time consuming/frustrating at first, but you really do get used to it and you can start doing some really fun things! When it comes to posing, I know many people feel strange or goofy posing in front of just a tripod, but the way I've started to think of it is like you're an actor. For that moment the shutter clicks, you are an actor playing a role. Sometimes I'll fake a little giggle to get a genuine smile for a shot or I'll do something with my arms that would look totally weird to anyone watching what I'm doing, but I know that the photos will look great!
Unless you're really self-confident, definitely try to find a secluded place to take your photos. It'll allow you to really let go and just do whatever, without worrying about passers by giving you weird looks. And if someone does come ask you what the heck you're doing, you can always just tell them you're working on an assignment for class or something!
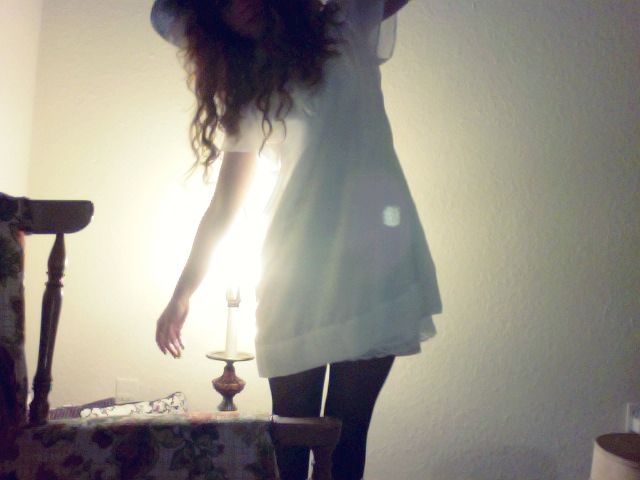
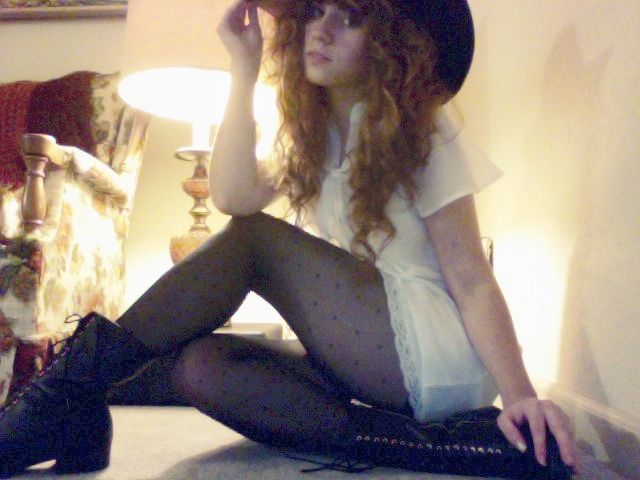
If you're worried that your camera is cheap and you can afford to buy a DSLR, don't worry, you can take great shots with almost any camera (though I won't deny that having a good camera and lens help a lot). It's all about composing the shots and bringing an artistic eye to your shoots. I recently took some outfit photos (above) with my webcam, and plenty of people take outfit shots with an iPhone, so you know it's possible to take outfit shots with any camera!
Depth of Field
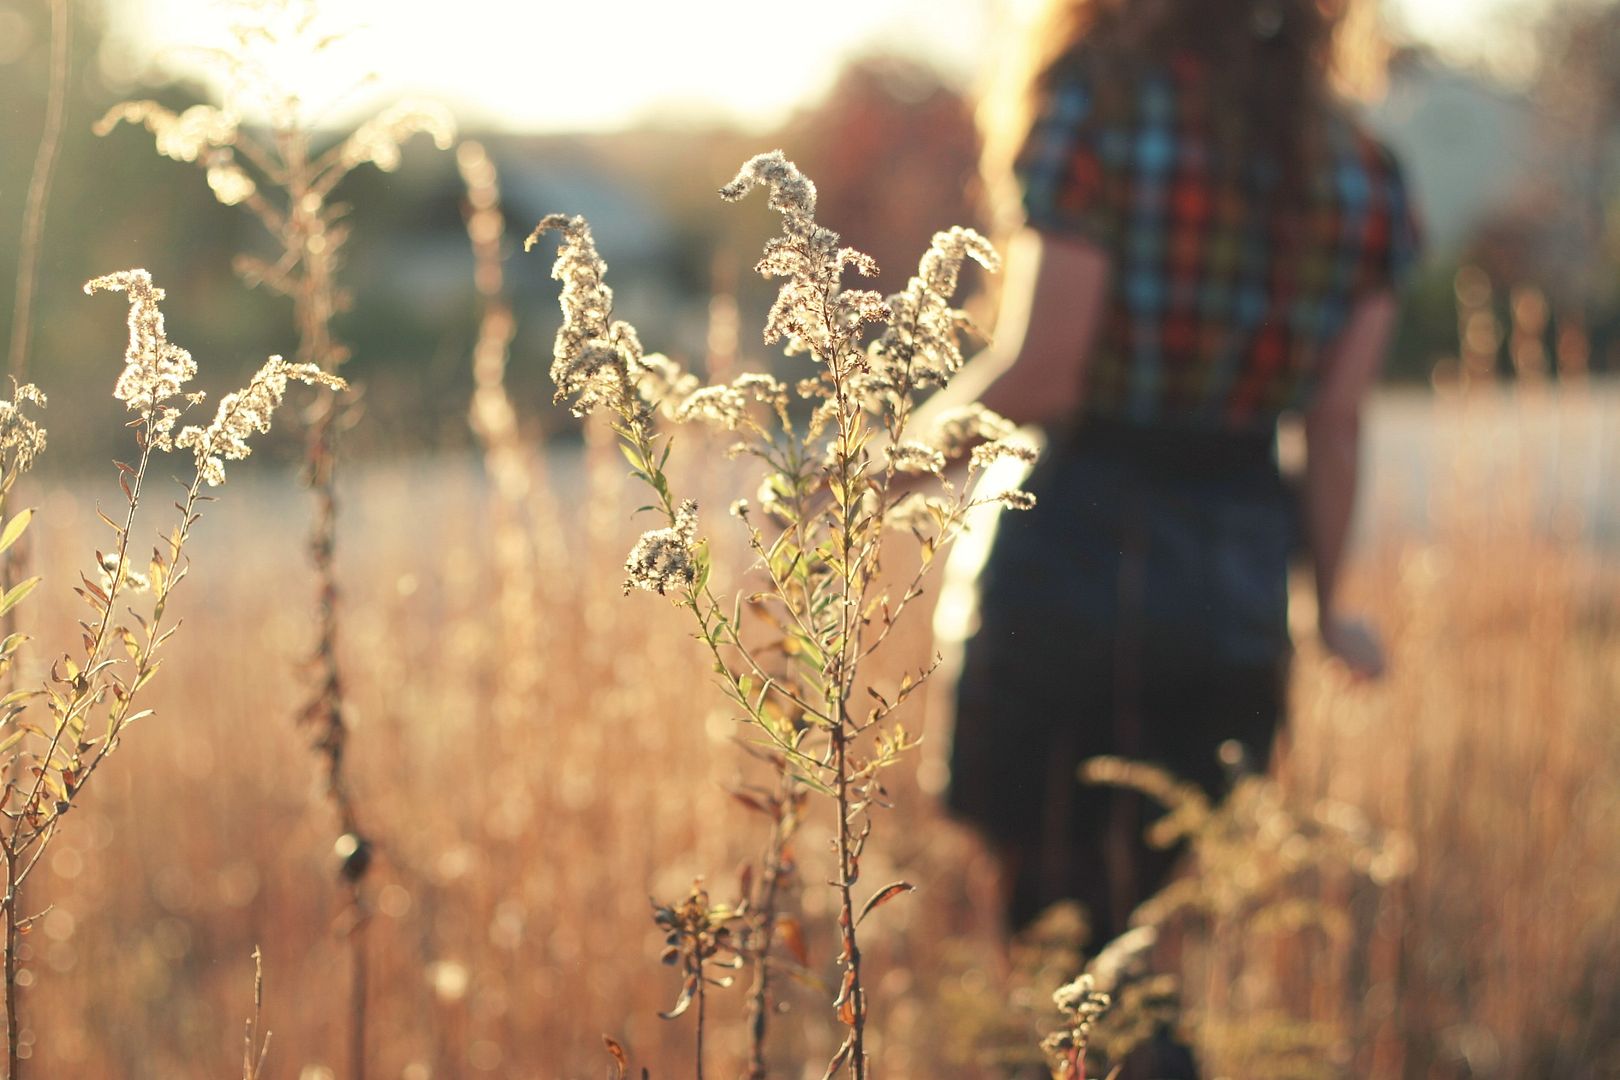
If you want to get a shallow depth of field like I have in my photos (meaning the subject is in focus and the background is super blurry), you'll need to get a lens with a wide aperture, like f/2.0 to f/1.4. Depth of field refers to how much of the photo is in focus and how much is blurry. Having your background out of focus, while you--the subject--are in focus, allows for the photo to really highlight you and your outfit, not the busy-ness in the background. I use a 50mm f/1.4 lens and it gets an extremely shallow depth of field. Lenses can get expensive, though, so decide if you want to spend the money on a nice lens. I decided to pay the "big bucks" for my lens (it was about $400.00), but my little brother got a similar lens, a 50mm f/1.8 and it was only around $100. His lens is a lower quality lens, but it still takes great photos and it gets the shallow depth of field, so you don't have to make a huge investment to have a better lens!
Lighting
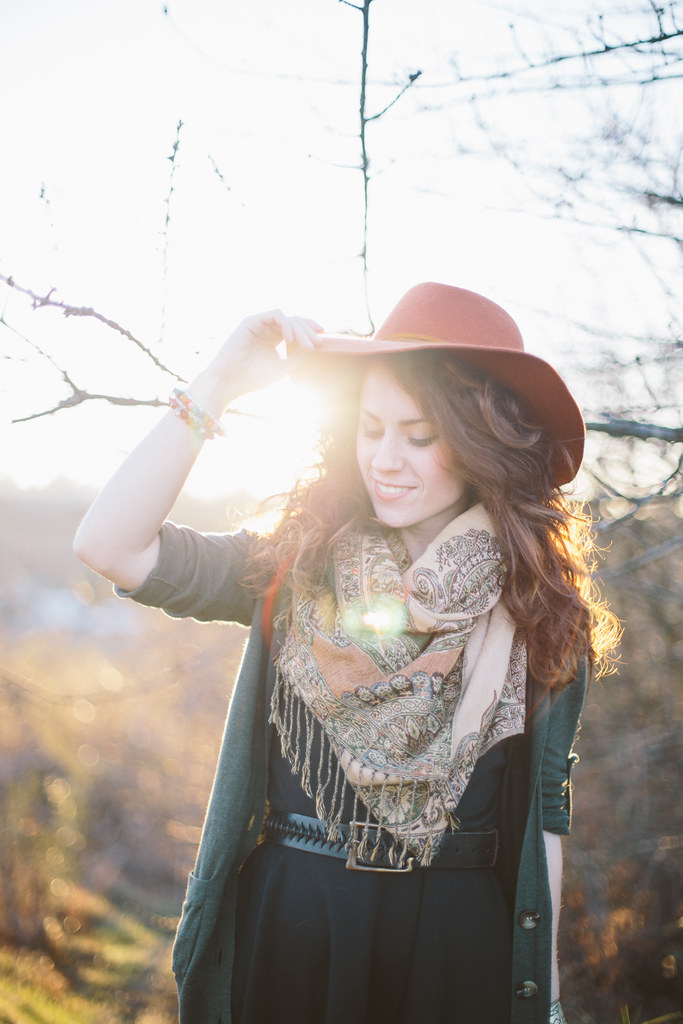
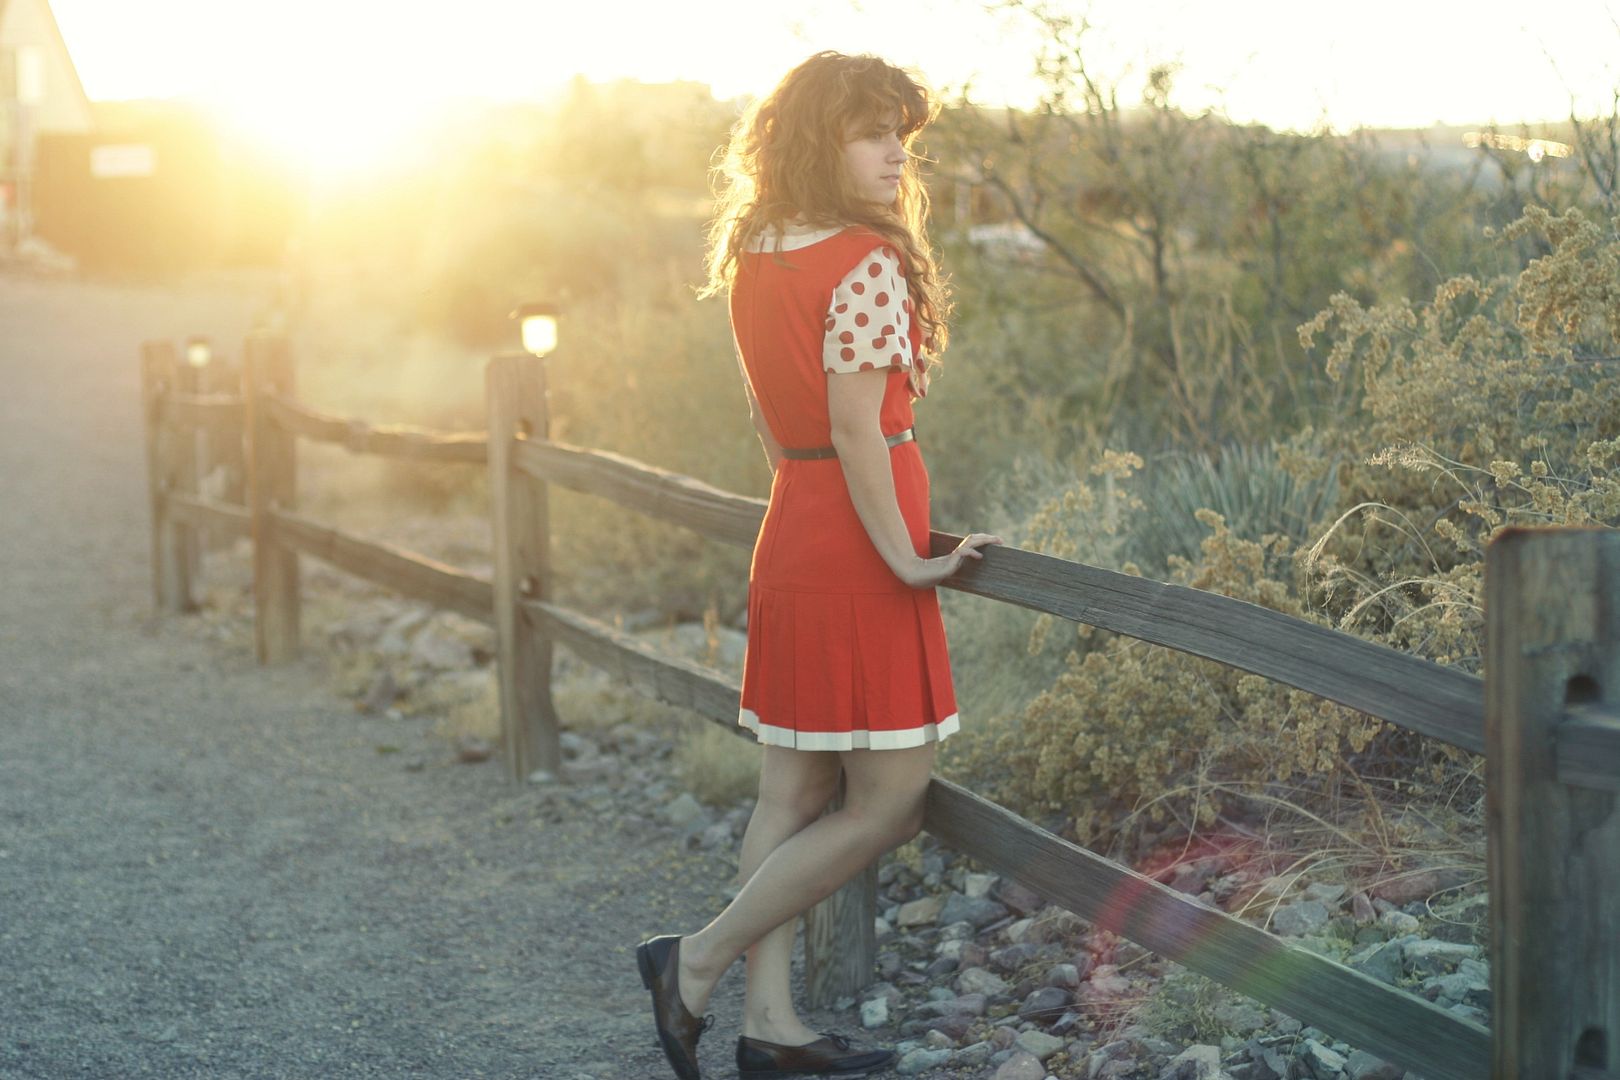
For optimum photos, you also want to make sure you've got some good lighting in your photos. I try to always take outfit photos outdoors using natural lighting. This helps show the colors of your outfit accurately, and naturally lighting is just always most desirable, in my opinion. I actually prefer to take my photos on cloudy days, or right at sunset so the sun isn't super harsh. Full sunlight can create harsh lighting and be hard to get the right exposure. Clouds create a natural diffuser for light, which creates a nice soft light. Luckily for me, it's almost always cloudy in Washington! Haha. Try out taking photos in some different lighting situations (cloudy, sunny, at sunset) to figure out which you prefer. My favorite thing about taking sunset photos is getting an awesome sunflare in the photo!
Tips/ideas for interesting shots:
frame yourself with something in the foreground
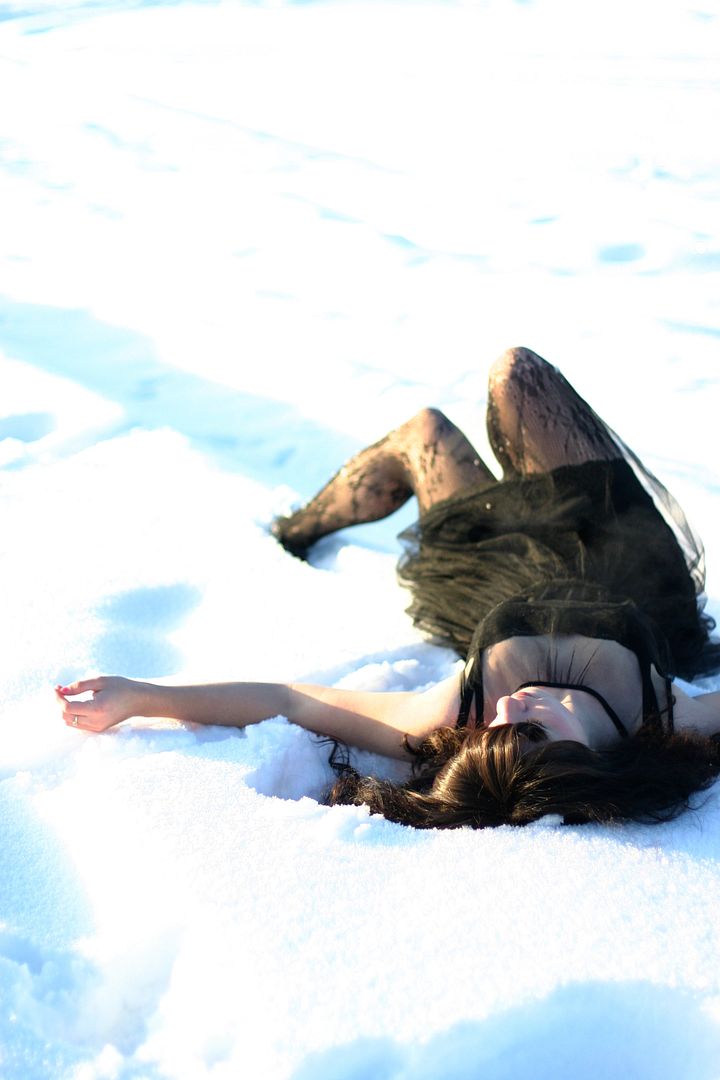
lie or crouch on the ground

focus on something in the foreground and then go further and out of focus in the background
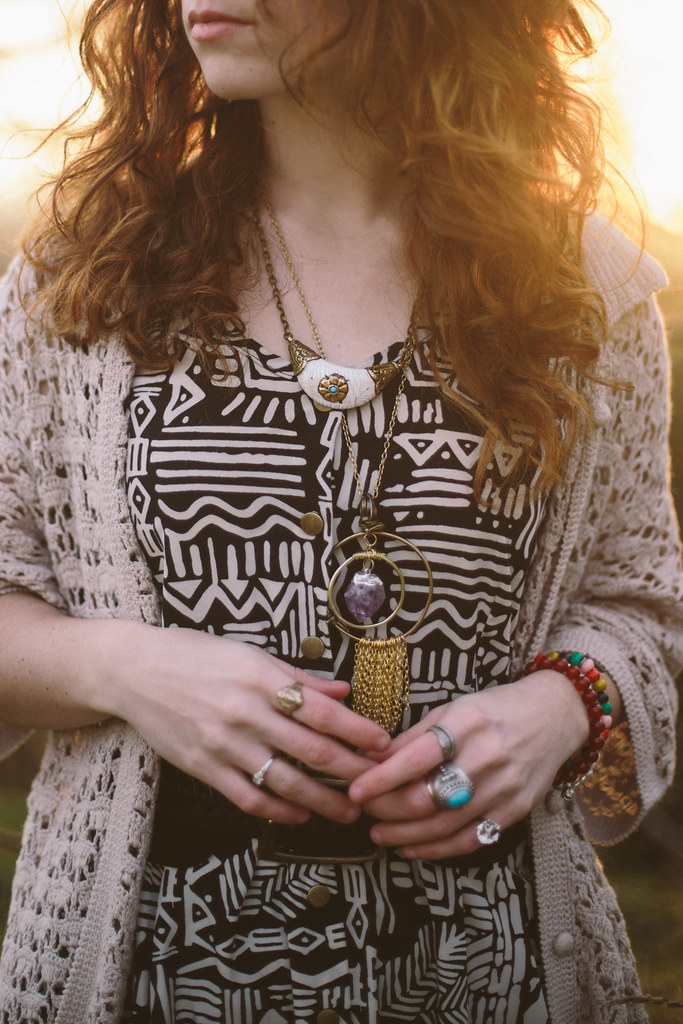
get detail shots
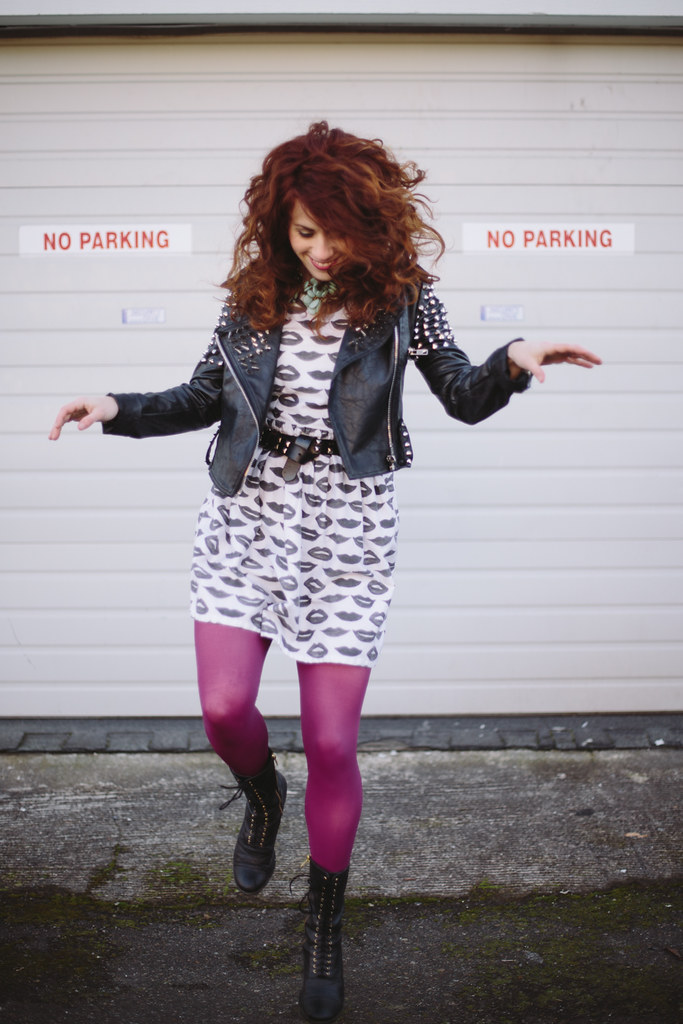
get action shots
use sunflares
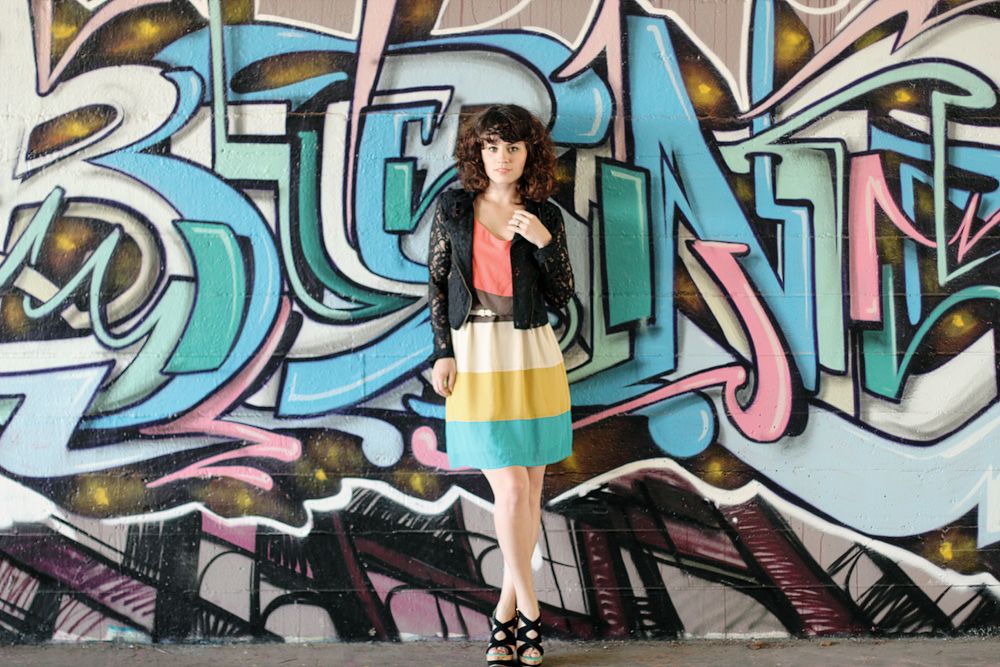
use fun backgrounds
Jennine from IFB and The Coveted made this little video and it pretty much goes through everything I described above, except she uses a remote.
