

By Elizabeth, Delightfully Tacky
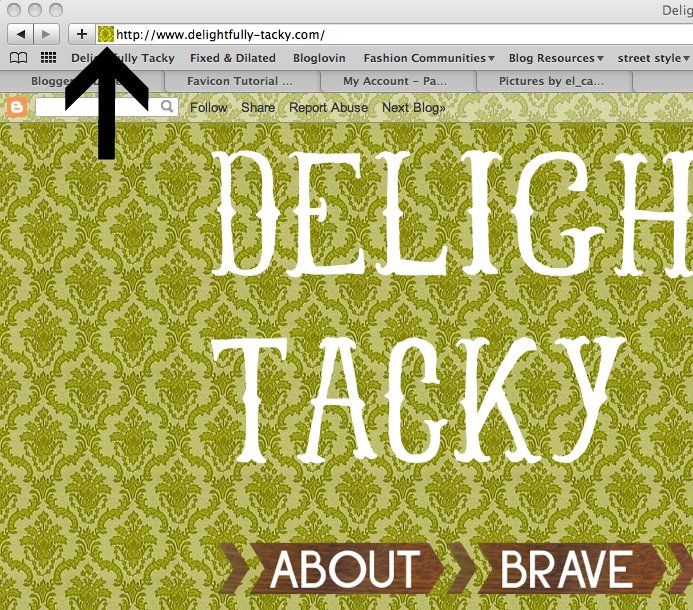
A favicon is that little 16 x 16 px, customized square next to the URL of a website. For blogger, it's their little "B" logo. For Google, it's their primary colored "G". I made my favicon from the background of my blog. While you don't need to make a favicon, it can certainly strengthen your branding, help people recognize your site, and they're just cute and fun! The tutorial I used to create my favicon is from Le Blog de Sushi, and it was so great that I've basically just recreated her tutorial, which you can find here. (note that all the html coding has an asterisk added, which you'll have to remove for it to work properly).
Here's how you do it:
1. Locate the <*/head> tag in your blog code and paste the following HTML before it:
<*link href='favicon.ico' rel='icon' type='image/ico'/>
<*link href='http://yoursite.com/image.ico' rel='shortcut icon'/>
2. Create a your new favicon image file that is 16x16 pixels in size. Photoshop is great for this, or you can probably use Picnik or Splashup to create it. After you've finished designing your icon, save it to your computer as a jpg, gif or png file.
3. Go to http://www.favicon.cc/? and click 'Import Image'. Use 'Browse' to find and select your favicon image, then click 'Upload'. Under the 'Preview' section of the page, click 'Download Favicon' and save a copy to your computer.
4. You will now need to find a place to host your icon. As ico files are not considered image files, hosting sites that only allow hosting of images (such as Flickr and Photobucket) won't allow you to upload the file. Instead, if you own a domain you can upload the favicon there. For those who don't, I'd suggest signing up with a free hosting site such as 000webhost.com, which allows you to upload via FTP or their file transfer page.
<*link href='favicon.ico' rel='icon' type='image/ico'/>
<*link href='http://yoursite.com/image.ico' rel='shortcut icon'/>
Here's what it looks like in my code:
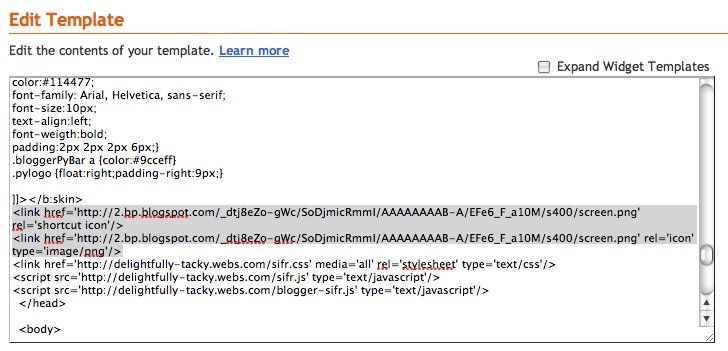
Don't forget to remove the asterisks or the code won't work. Save and refresh your blog and you should now see your favicon in the address bar!
(disclaimer: I haven't actually made a favicon in a few years, so let me know if this tutorial is out of date or doesn't work and I'll fix it!)
